Saturday, July 21, 2018

New Deck


We saw this wall design when visiting a brewery in Austin, TX. 
"Can you make a garden wall like that?" I asked my Hammer Man. Of course he can! Behind the wall is the air conditioning unit and trash cans. Now we just see beauty when we sit on the porch. 
The grill is situated under the oversized awnings, so we can cook in the rain now!
New Deck for BBQ Grill
A Close-Up of The Framing
The Framing

Wednesday, December 21, 2016

Christmas Ornament - Rubik's Cube

Each year we purchase a new ornament for each of our grandchildren.
We try to choose an ornament that represents that particular year, ie: a sport they participated in, a travel memory, etc. We don't display them on our tree, rather we pack them up, and plan to give them their box full of ornaments for their first Christmas trees in their own first homes/apartment/condo/yurk... who knows what homes will look like in 20 years?
So this year our oldest grandson, who is a teen now, became interested in algorithms. On many occasions, he tried to explain the use of algorithms in solving his Rubik's Cube, but he never got through to us! It was easy to choose his ornament for this year, since each time we saw him he had a Rubik's Cube in his hand.
We searched for a Rubik's Cube ornament without much success, so I turned to my Hammerman. And he did not disappoint!

He used 54 small wooden cubes, glued them together, spray painted the whole thing black and attached adhesive foam to each cube.
We consulted our grandson, about his preference on the design: Did he want the colors all the same on each side (a "solved" cube) or did he prefer an unsolved one? It could have, of course been easily designed the other way. Or, all red and green cubes would be cute, too.

I like thinking of our grandson, in the years to come, displaying his Papa's handmade ornament on his own tree.


Wednesday, November 30, 2016

Loft Hardware, Dimensions etc

THE FOLLOWING IS A REPLY TO THE INQUIRY ABOUT DIMENSIONS
I'm not an engineer so all I can tell you is what I used and what worked for my project.
The vertical riser is a standard pine 2 x 12 cut to the appropriate length and angles. I did quarter round (router bit) this board top and bottom for looks and no "sharp" edges.
The steps were cut from a standard pine 2 x 10. My dimensions were 9 3/16" x 7". I did quarter round the top and bottom of the step with a router bit so the edges were not "sharp". The end of the step that was attached to the vertical riser was not rounded with the router, making a more flush fit.
I work for a company that works with galvanized steel so I made my own brackets. To attach the vertical riser to the floor I used 1 1/2" x 1 1/2" 6" long 90 degree angle of 16 gauge with 1/4" x 1 1/2" long lag bolts with anchors.
To attach the steps to the riser I used 3" x 1 1/2" 6" long 90 degree angle of 16 gauge with 1/4" x 3" lag bolts. The 3" part of the angle was attached to the underside of the step with 1" long lag bolts and the 1 1/2" was attached to the riser with the 3" long bolts. In addition to this I used a 1 1/2" x 6" long flat blank to help secure the step to the riser on the opposite side using the 3" long bolts. I think you may be able to see all the brackets and flat blanks in the photos.
I did use lock washers with all bolts. I did pre-drill holes for all bolts to minimize the wood splintering.
I hope this is helpful and good luck with the project. It is always neat when someone comments "Where did you get that?" and you can reply "I made it!" 

Tuesday, February 24, 2015

Kitchen Shelves

                                            Clutter-free kitchen countertops!

We added a little half-round shelf at the end of the cabinets. It is secured with long screws coming from inside the cabinet, and - unfortunately a bracket that is sunken into the tile. But the bracket is tiny; the shelf won't need to support heavy weight. We are considering adding one more half-round shelf, just below this one.
I've seen similar shelves in Houzz, displaying pretty dishes or art. We're a bit more utilitarian around here, just needed a place to charge phones, store electronics, etc.

My Hammer Man doesn't know this yet, but he's planning another project. We NEED an appliance garage, for the toaster oven.
One project always produces another, doesn't it?

Sunday, February 8, 2015

Window Valances - Before & After

 The "before" - boring plastic valances, the ones that were packaged with the blinds.

 And the "Afters" - simple crown molding, cut and glued and nailed into the drywall.
We think they give a nice dressed-up look to the windows.
We weren't sure how to make the cuts, found helpful instructions on uTube.
Also found a website of someone who makes and sells them, if you don't have a Hammer Man handy.

Saturday, December 22, 2012

The Platform!

Our older grandchildren love to climb trees, so for Christmas this year, our Hammer Man (with the help of his Jr assistant) built a platform around one of the trees in their back yard.

You can see Hammer Man signing his creation, under the platform

At first, the children struggled with the final step-and-hoist action, but after a bit of practice, they mastered it. In this photo, Mike is filling the bird feeder, which hangs from the side.
Merry Christmas, Aiden and Anna!
 

Christmas Trees

Last year, Anna and I were looking through a catalog of Christmas items. She saw some wooden trees, and declared, without hesitation, "I could make that." (She was 6 at the time.)
And so she did. Her older brother made one, too - with Papa's pre-drilled holes, some pegs and glue. The larger pegs go all the way through the "trunk" and the smaller ones are inserted into little openings.

Here is another photo of the finished trees. As you can see, we had to make the bases larger, to prevent toppling. The one in the back is perched upon a step stool:

We used one of the trees for our family party this year, as a "Stocking Tree"
My sister makes and stuffs stockings for all of her great nieces and nephews, and my husband makes trees. Here, one of the little ones is trying to find her stocking:


And here is a final photo, of our Great Aunt with two excited little girls:

Thursday, July 5, 2012

Finished Photos of The Loft


Final pics of The Loft! I'm so proud of my man for pulling this off. The ladder is a work of art!

Sunday, March 25, 2012

My Turn!

Now it's my turn to post something that I made.
The idea came from one of my favorite blogs
Mine isn't quite as tidy and neat as hers, but it's ok. We like the wabi sabi.

Saturday, March 10, 2012

Loft Ladder

The loft project installation is underway. We are seriously proud of this ladder that we designed. And by "we," I mean "he." I just found a photo of a similar one and made the request.

One more photo, for perspective

Saturday, November 5, 2011

Secret Storage

Our neighborhood association prohibits unattached structures, such as storage sheds. Here's our solution - a little lean-to room on the back of our house, not visible from the front or side yards.


The ramp doubles as a reading space


Landon's Closet

From our Hammer Man - our grandson's closet. He removed a long wire shelf from the top of the original closet. The new design left a small space for hanging clothes and shoes. The right side of the closet is now filled with toys that once occupied a giant box on the floor. Later, the shelves can hold folded clothes.


Saturday, October 29, 2011

Master Bath Closet

Behind the medicine cabinet was a typical linen closet with wire shelves.
You know, the kind that all of your little things fall through...

We replaced the wire shelves with wood. Everything is in baskets now (Target)
The basket on the floor is for dirty laundry. We had planned to hang a swag of fabric on the door, but our Inner Minimalists like it just as it is.

Let's Make This Taller

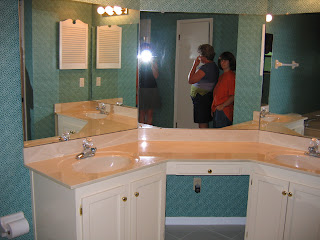
                Our 1980's house had a "too short" bathroom counter and wallpaper from the original owners

We removed the laminate countertop and built a support grid with pressure treated 1 X 4s on top of the cabinets. Since the sinks moved up too, we extended the drain pipes, then we put the countertop back on. Now we can reinstall the mirrors.

In this photo you can see exactly how much space we had, to move up the mirrors without getting into electrical re-wiring. Hammer Man didn't want to move the lights.

Here is the finished project. Now we can brush our teeth without doing squats. Here, in the reflection of the mirror you can see the insert that replaced the medicine cabinet. (See next post)


Tuesday, October 25, 2011

Medicine Cabinet Be Gone

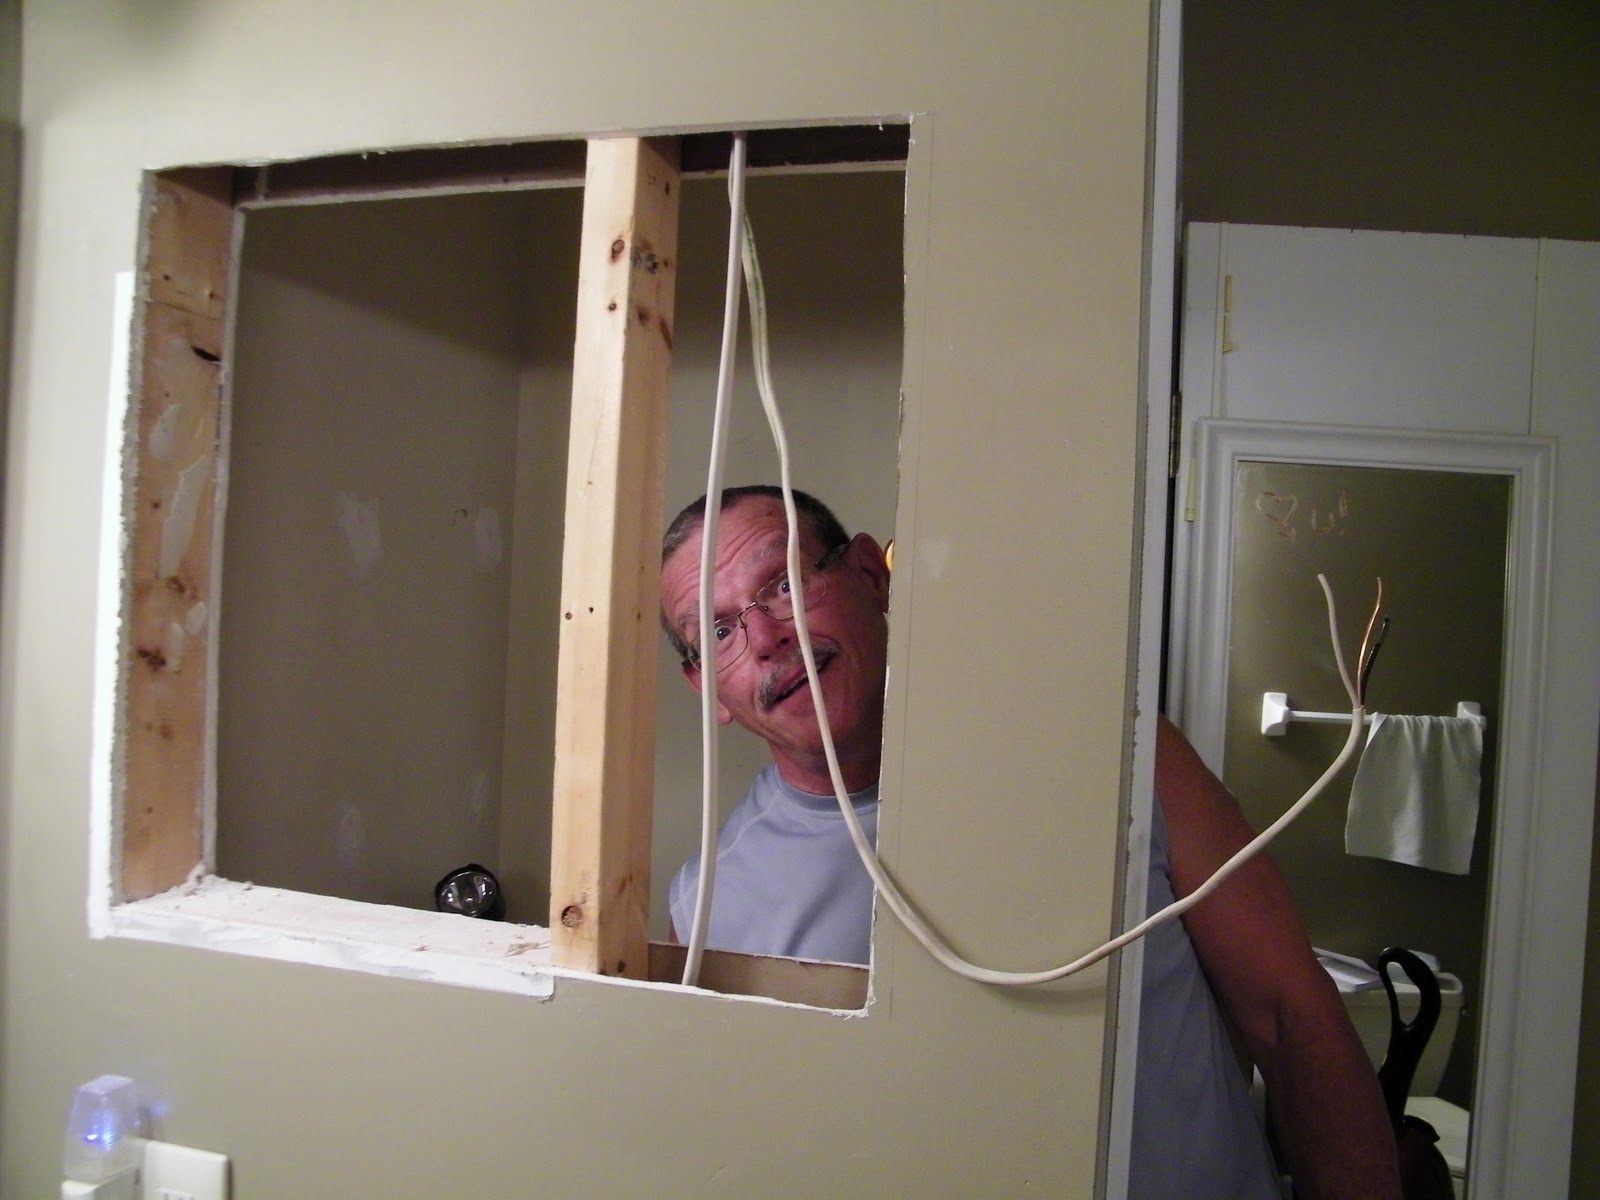
We took out the medicine cabinet, enlarged the opening, tucked in the electrical cord....
There's a closet behind the wall, and here's my cute workman, in the closet....
And here is the finished inset. Much better than a medicine cabinet!